| Reader situation | Technique | Skill level | Planning use |
|---|---|---|---|
| Deadline is tight | Suggested backgrounds, photo reference, blocked-out room models | Beginner to intermediate | Use when the action in the panel matters more than the setting. These cost the least drawing time. |
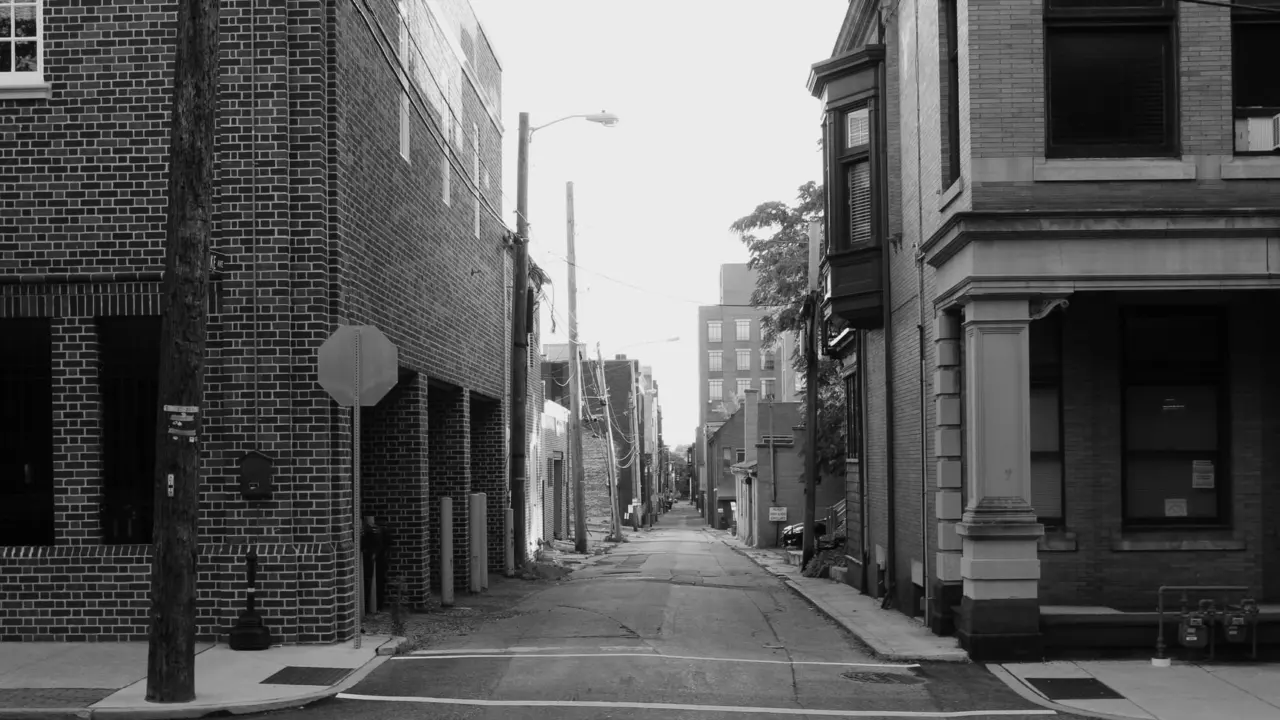
| Learning the basics | Horizon line and one-point perspective, with a single vanishing point typically in the centre of the scene | Beginner | Use for corridors, rooms and streets seen straight on. It is the cheapest ruled setup to learn. |
| Drawing a city street | Boxes with lines running back to the vanishing point | Beginner to intermediate | Use when a street must read as a real place and the buildings stay face-on to the reader. |
| Corner views and dramatic angles | Two-point perspective (vanishing points at far left and far right) and three-point perspective (a third point above or below the horizon) | Intermediate to advanced | Use when a building corner faces the reader or the camera looks steeply up or down. Expect the slowest builds. |
The perspective terms in this table follow Artists Network and The Virtual Instructor.
To learn how to draw comic backgrounds, begin with a horizon line and a single vanishing point, then build boxes into buildings. When time is short, lean on photo reference or simple room models.
Backgrounds are one stage in the pipeline covered in how does a comic book studio work. Choose a technique by deadline and skill first, because the right shortcut on a crowded page saves more time than a perfect grid.
When the deadline is tight
The fastest techniques trade detail for speed. They suit panels where characters carry the scene and the setting only needs to be recognisable. Time saved here also shortens the whole schedule, which how long does it take to make a comic book looks at page by page.
Suggested and empty-panel backgrounds
A background does not need to be fully drawn in every panel. Establish the location once in a wide panel, then suggest it in closer panels with a few props, a simple tone or a flat colour. This is the best first choice for beginners and for pages heavy with dialogue.
The limit is orientation. If the reader never sees the location properly, close-ups float in space and the scene loses its sense of place. Show the full setting at least once per scene.
Photo reference for streets and rooms
Working from a photograph removes guesswork about how buildings, windows and furniture sit together. Draw over or beside the photo and keep only what establishes the place: the big shapes, the direction in which edges recede and one or two memorable details. Leave out signage, clutter and anything that does not help the story.
- Best for: city streets, interiors and vehicles that you cannot easily observe in person.
- Watch for: copying every detail makes the panel busy and slow, and a camera lens can distort edges in ways a comic panel does not need.
- Check first: read the licence on any photograph before you use it as a close reference, and prefer images you took yourself or that carry a clear licence.

Blocked-out digital rooms
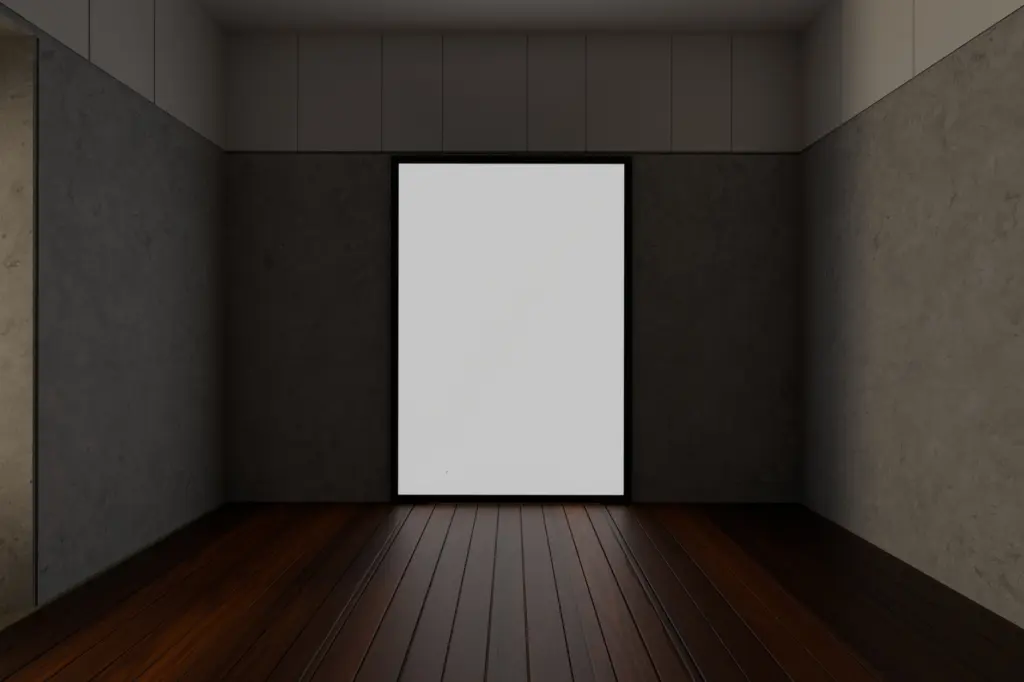
Modelling software lets you build a room from plain boxes for walls, floor and furniture, then pick a camera angle and print or display it as an underlay. You draw over the blocked-out shapes and add the detail by hand. The approach suits artists who return to the same location across many pages, since each new angle costs only a camera move.
The limit is set-up time. A model only pays back if the location recurs, so a one-off room is usually quicker from photo reference. Artists who already work on screen can read how the files fit the wider workflow in how to make a digital comic book.
When you are learning the basics
Beginners get the most from a short, repeatable routine. Learn the horizon and one vanishing point thoroughly before moving to harder setups, because every later method builds on them.
Horizon line and a single vanishing point
The Virtual Instructor says to begin one-point perspective by drawing a horizon line. Place the vanishing point on that line. Artists Network describes the vanishing point as the place where parallel lines appear to come together in the distance, and in one-point perspective it typically sits in the central part of the scene.
Use this decision list to choose where to put it:
- Centre placement: gives a calm, symmetrical corridor or street, which is the standard starting layout.
- Off-centre placement: keeps the same method but pushes the viewer toward one side of the scene, useful when a character occupies the other half of the panel.
- Higher or lower horizon: changes how much ground or sky the panel shows, so set it to match the camera height you want.
Sketchbook studies from life
Quick studies of buildings and interiors build a personal library of shapes: doorways, rooflines, staircases, shopfronts. They are slower than photo reference in the short run, but they teach you what to leave out, which is the real skill in comic backgrounds. Keep each study loose and short, and note where the horizon sits relative to your eye.
This suits anyone with regular time to practise and little pressure from a deadline. It does not replace the ruled setup, since it trains judgement rather than precision.
When the scene is a city street
City backgrounds are where perspective earns its time.
Building a street from boxes
Follow this order for a street seen straight on, using the one-point method described by The Virtual Instructor:
- Draw the horizon line across the panel.
- Mark the vanishing point on it.
- Draw each building front as a plain rectangle.
- Draw lines from all four corners of each rectangle back to the vanishing point, since lines that recede back to the vanishing point are added from each corner of the object.
- Close each box where its depth should end, then add doors, windows and roof details along the same receding lines.
The horizon line is usually only a construction aid. The same source notes it will most likely not be visible in the finished drawing, so erase it or keep it light.
Two-point and three-point perspective for corner views
One-point perspective stops working when a building turns. The Virtual Instructor advises that if the corner of the object faces the viewer, two-point or three-point perspective is a better choice. Artists Network states that scenes in two-point perspective typically have the vanishing points placed at the far left and far right. Three-point perspective adds a third vanishing point either above or below the horizon.
- Two-point: suits a street corner or a building seen at an angle, where both visible walls recede.
- Three-point: suits a tower looking up or a rooftop looking down, where vertical edges also converge.
- Skill and time: both take longer to set up than a single-point layout, so save them for establishing panels and keep later panels simpler.
Atmospheric perspective for distance
Lines are not the only way to show depth. Artists Network explains that atmospheric perspective, also called aerial perspective, conveys depth through variations of value, colour and clarity. In a black-and-white page, this means lighter, simpler shapes for far buildings and darker, sharper ones near the front. It adds depth to a ruled street without extra construction lines.
Tools for ruled backgrounds
Artists Network lists a ruler, a triangle and a T-square among the materials for perspective drawing, along with a lightbox or transfer paper. A ruler and T-square keep long receding edges straight and horizontals level, and they speed up repeated windows and floors along the same line. Transfer paper or a lightbox lets you move a pencil construction onto final art without redrawing it.
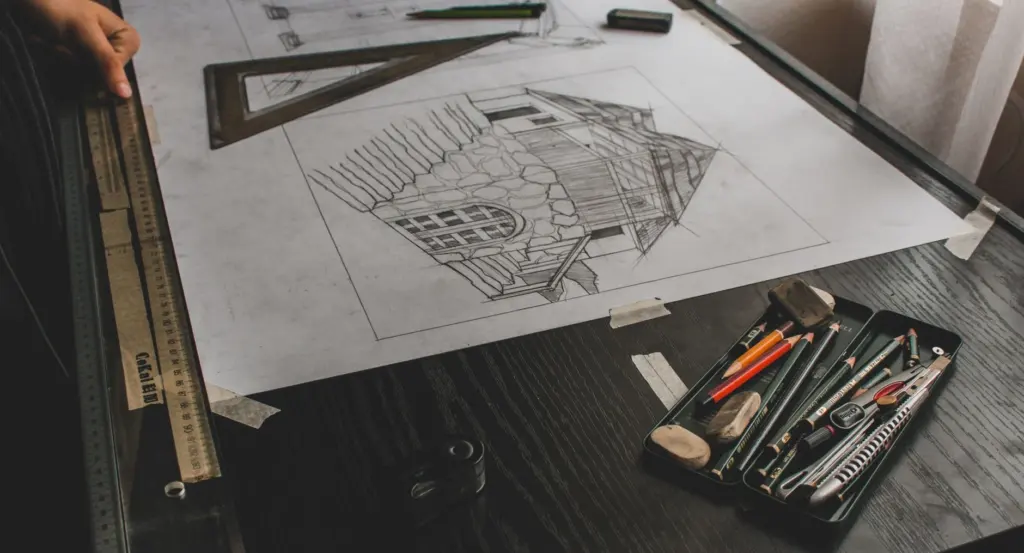
Hand-drawn lines remain a good choice for organic shapes such as trees, crowds and rubble, where rigid straight edges look stiff. Use the ruler for architecture and your hand for everything that grows or crumbles.
Frequently asked questions
| Question | Answer |
|---|---|
| What is the horizon line? | Artists Network defines the horizon as the line where the sky meets the land or water below. In a comic panel it marks the viewer’s eye level. |
| Does the horizon line stay in the finished drawing? | Usually not. It is defined as a construction line and most likely will not be visible in the finished piece, according to The Virtual Instructor. |