Learning how to create a comic book character starts with choosing a role, give the character a clear want and a flaw, then test the look through colour and costume before drawing a turnaround sheet that an artist can follow.
A common stall: the hero idea exists, but it looks generic on the page and the villain is just whoever the hero punches. This guide works through those problems in order, from concept to finished sheet.
Design is one stage of production. The studio hub answers the wider question of how does a comic book studio work, including where this kind of work sits.
Starting with an original character
An original character starts with a role, not a costume. The role decides what the design has to communicate, so settle it before opening the sketchbook. Characters adapted from existing properties raise different questions, which comics based on video games illustrates.
Pick the role first
Make Me A Comic advises deciding whether the character is the hero, villain, sidekick or comic relief. The protagonist carries the story, so that design needs the most attention. The antagonist is the character the protagonist must be measured against, so design the two as a pair.
Fill in a short character template
The same guide suggests a template with these fields: name, role, personality traits, strengths, weaknesses, backstory, appearance and signature ability. Fill in every field before drawing. The weaknesses and backstory fields matter most for the character arc, because they give the story something to change. A character with no weakness has nowhere to go.
Making the design recognisable
A recognisable design answers one test from the same template guide: how would someone recognise this character instantly? Its checklist for appearance covers costume, accessories, body type, facial features and any defining characteristics. Sketch several rough variations of body type and silhouette before adding detail, and keep the version that is easiest to tell apart from the rest of the cast.
Colour palette
The template guide asks what colour scheme represents the character. Treat the colour palette as part of the character’s identity and fix it early, so every later page can match it. A small, deliberate set of colours is easier to repeat than a loose one.
Costume design
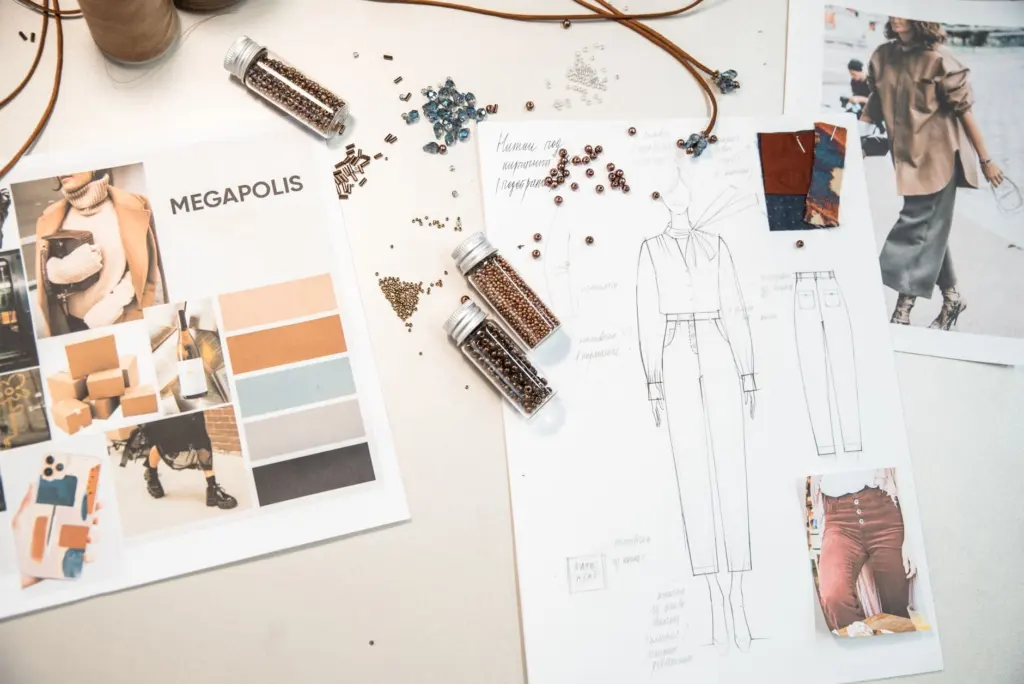
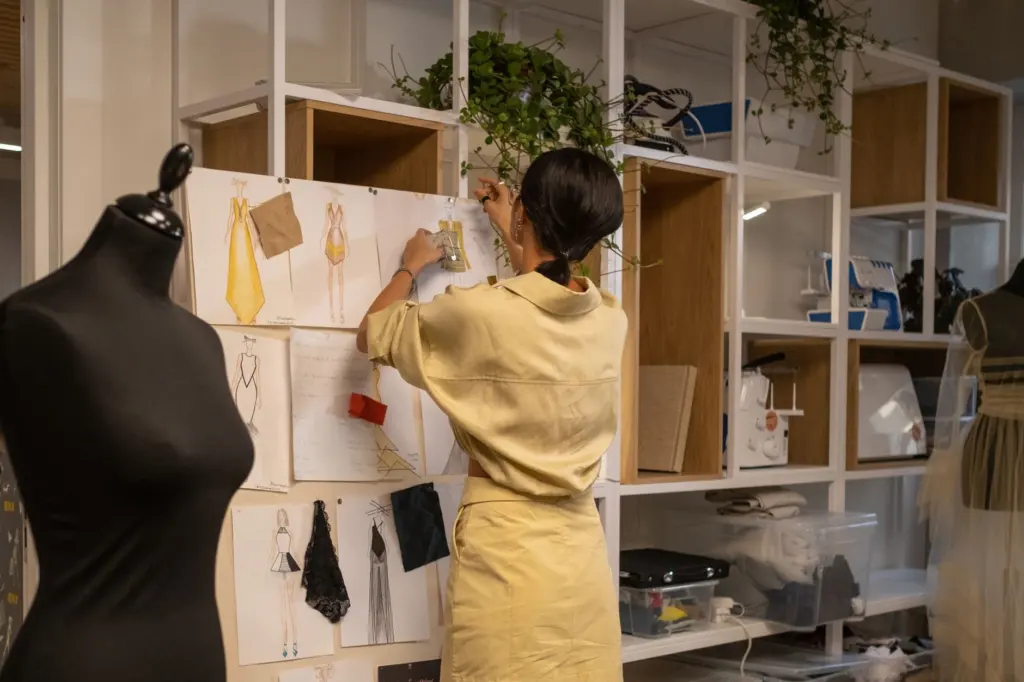
Costume design carries the story information the face cannot. The same source asks what symbols appear on the costume, so choose symbols that say something about the role or background rather than decorating the outfit. Reference boards help here: pin outfit sketches and fabric ideas together and check that each piece earns its place.
Designing a villain against the hero
A villain works when the design is built in opposition to the hero, not drawn on its own. Start from what the hero wants and give the villain a goal that clashes with it. Make Me A Comic says to give the villain a believable motivation and a goal that clashes with the hero’s mission.
Motivation that makes sense from the inside
The same source says the best comic book villains do not believe they are evil. Write the villain as someone who thinks they are right, then let the design hint at that conviction. A villain who sees themselves as justified can look composed, even attractive, instead of defaulting to a menacing stereotype.
Contrast in the visuals
Use the hero’s own choices as the baseline and change them on purpose. Opposed colour palettes, different body types and a costume built on a different idea all make the pair read as opposites at a glance. Comic Book School’s character design step asks artists to put the main opposing characters in a relevant combat or conflict pose. Drawing the pair mid-conflict shows whether the contrast holds in action.
Building the turnaround and model sheet
A character turnaround sheet shows the finished design from several angles, and a model sheet extends it with poses and expressions. Comic Book School describes them as useful tools that allow the writer and the artist to have a shared creation. Build them in layers, as the table shows.
| Sheet | What goes on it | Planning use |
|---|---|---|
| First sheet | At least three poses: front, side and back | Fixes the silhouette and costume from every angle before pages are drawn |
| Second sheet | Poses and expressions: happy, sad, surprised, angry | Shows how the face and body behave, so emotional scenes stay in character |
| Group sheet | The main 3-4 characters on one page, showing height and weight differences | Keeps relative size consistent when characters share a panel |
| Conflict sheet | Main opposing characters in a combat or conflict pose | Tests whether hero and villain designs contrast in action |
These sheet contents follow Comic Book School’s character design step.
Do the front, side and back views first, because they settle proportions and costume construction. Add expressions once the body is stable. Exploratory sketches can stay loose, and only the clean version needs to go on the sheet.

Keeping the character consistent across pages
Consistency comes from a reference everyone shares, not from memory. Use this checklist before drawing each new batch of pages:
- Check against the sheet. Compare costume details, proportions and palette with the front, side and back views before inking.
- Keep a shared reference folder. Comic Book School suggests that writer and artist create a shared folder where both save images and inspiration, so casting and mood stay aligned.
- Check scale against the cast. Use the group sheet whenever two characters share a panel, so heights do not drift.
- Use the expression set. Draw emotional beats from the expression sheet before inventing a new face.
- Plan changes deliberately. Make Me A Comic notes that many great comic characters evolve over time as their stories develop. Treat a new outfit or look as part of the character arc and update the sheet when it happens.
Once the design is settled, it gets its first public showing on the front of the book. How to make a comic book cover picks up from there.
When the character is not working
- The character feels flat. Add a flaw. Make Me A Comic puts it bluntly: perfect characters are boring, and flaws make characters relatable. Return to the weaknesses field of the template and make one of them affect a decision in the story.
- The artist’s version looks like a different person. The usual cause is vague writing. Comic Book School says the writer needs to be clear about who the character is so the artist can properly visualise them. Rewrite the description in concrete terms and hand over the sheets with it.
- The design looks fine alone but blurs into the cast. Redo the instant recognition test from the design section with every character side by side, then change colour or shape for the one that disappears.
Frequently asked questions
| Question | Answer |
|---|---|
| How many character sheets does each character need? | Comic Book School asks for at least two and up to four character sheets for each character in its character design step. |
| Where can I find examples of character design sheets? | The same source notes that the internet is loaded with sample pages for character designs. Study how they arrange views and expressions, then adapt the layout to your own cast. |
| Is an anti-hero the same as a villain? | No. Make Me A Comic defines the anti-hero as a morally grey character who breaks rules but still ends up doing the right thing. A villain’s goal clashes with the hero’s, while an anti-hero is on the hero’s side of the story, however roughly. |