Once the final page is inked, how to print a comic book comes down to matching a route to page count, binding and run size: print on demand, an offset printer, or a local copy shop.
Printing is the last stage of the wider workflow behind how does a comic book studio work. The routes below are ordered from the lowest-commitment start to the most planned run.
- Short single issue, testing the market: an online print-on-demand service or a copy shop, saddle-stitched.
- Planned run with locked files: a printer working to offset standards.
- Thick collection: perfect binding. Printer guidance from Print Ninja puts the switch from saddle stitch at about 64 pages.
Route one: print on demand
Print on demand is an online service where you upload a finished file and the vendor prints it. Clip Studio’s help article lists an online print-on-demand service as one printing option alongside a traditional printer or a publisher. It is the natural first route for a creator who wants a physical comic without committing to a large batch.
The trade-off is that each vendor sets its own minimum order, per-copy price, paper stock and file rules. Read the pricing page and the file specification page of the vendor you choose before drawing a single bleed guide, because the vendor’s template overrides any general advice.
Print on demand suits a first issue, a convention sample or a small test of reader interest. It is a weaker fit when you need a particular finish or paper that the vendor’s standard menu does not offer. Weighing a quote against the rest of your budget is easier with the breakdown in how much does it cost to make a comic book.
Route two: offset printing through a printer
Offset printing is lithographic press work, and it is the route for a planned run where the artwork, page count and format are final. Print Ninja’s guidance refers to ISO 12647-2:2013, the international standard for offset lithographic printing, when it discusses how coated paper affects color reproduction. That is the reason to treat your color files as production files, not screen files.
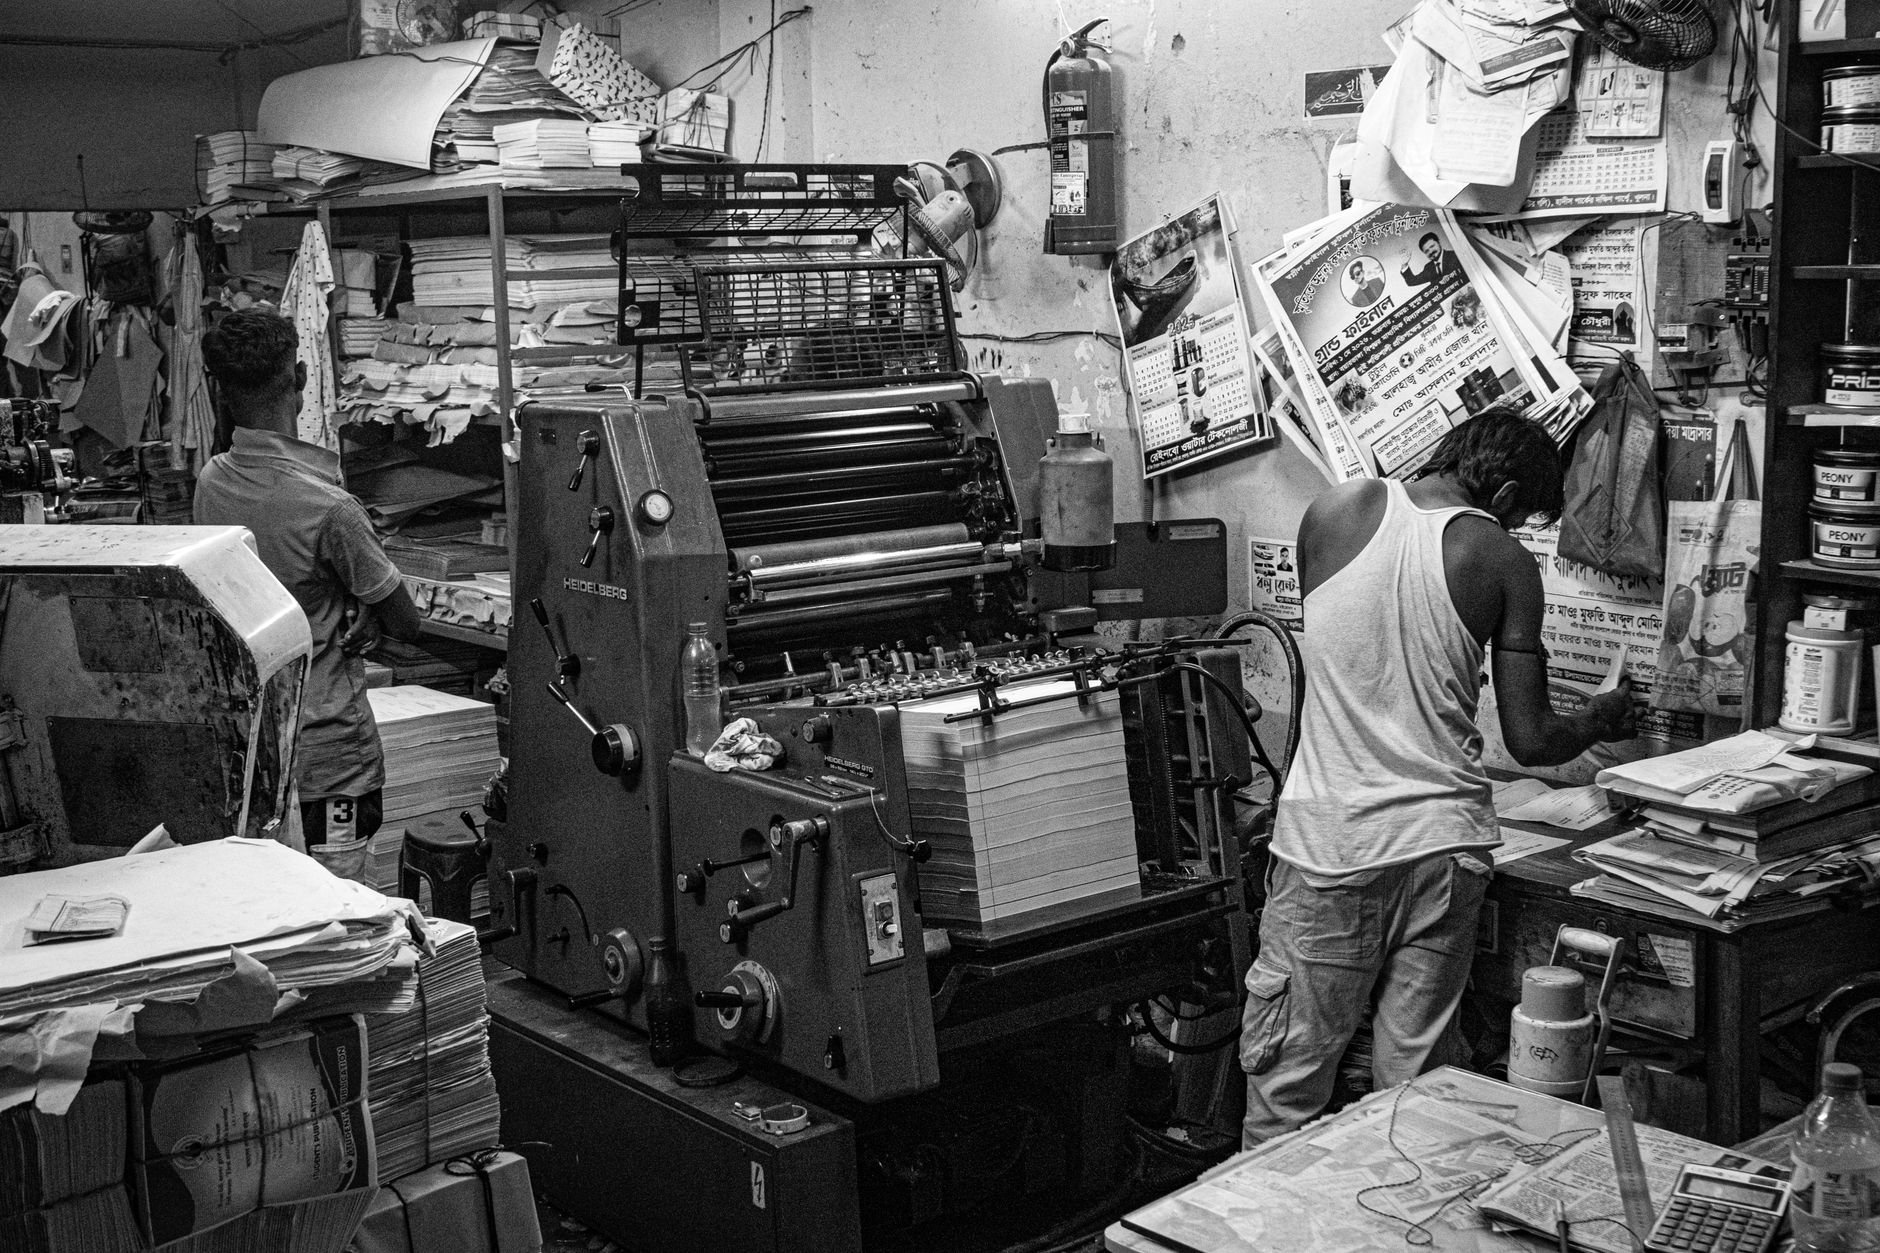
Offset suits creators who have already tested the comic, know the page count and want a consistent result across the whole batch. It suits less well a creator who is still revising pages, because changes after the file is submitted are the printer’s problem to absorb, not yours to ignore. Ask for the printer’s minimum order, paper options and turnaround in writing before you finalise artwork.
Route three: a local copy or print shop
A copy shop is the simplest route for a small handmade run. Clip Studio’s advice for creators printing at home or in a shop is to choose a standard size first and then build the file at that final size plus bleed, never smaller. The same article notes that a copy service may cut the bleed and bind the pages for a low fee.
This route suits zines, mini-comics and personal copies where speed matters more than a uniform finish. It is the wrong choice when you need accurate color on every page or a glued spine with printed title. Ask the shop which binding it offers before you set up pages, because the binding decides how many pages you can use and how much margin the fold needs.
Choosing a binding: saddle stitch or perfect binding
Binding follows page count, so settle it before you design the file. Saddle stitch works well up to about 64 pages, and perfect binding takes over beyond that, with the added benefit of a flat spine that can carry a printed title, according to Print Ninja.
| Format | Trim size | Page count | Binding | Planning use |
|---|---|---|---|---|
| Single issue (floppy) | 6.625 x 10.25 inches (168 x 260 mm) | 24–32 pages | Saddle-stitched | Serial releases and first issues |
| Trade paperback | 6.625 x 10.25 inches (168 x 260 mm) | 96–200 pages | Perfect bound | Collected volumes and longer stories |
| Longer than saddle stitch handles well | Same trim | Beyond about 64 pages | Perfect binding | Any book that needs a title on the spine |
These figures come from Print Ninja’s modern comic book design guide.
Saddle stitch
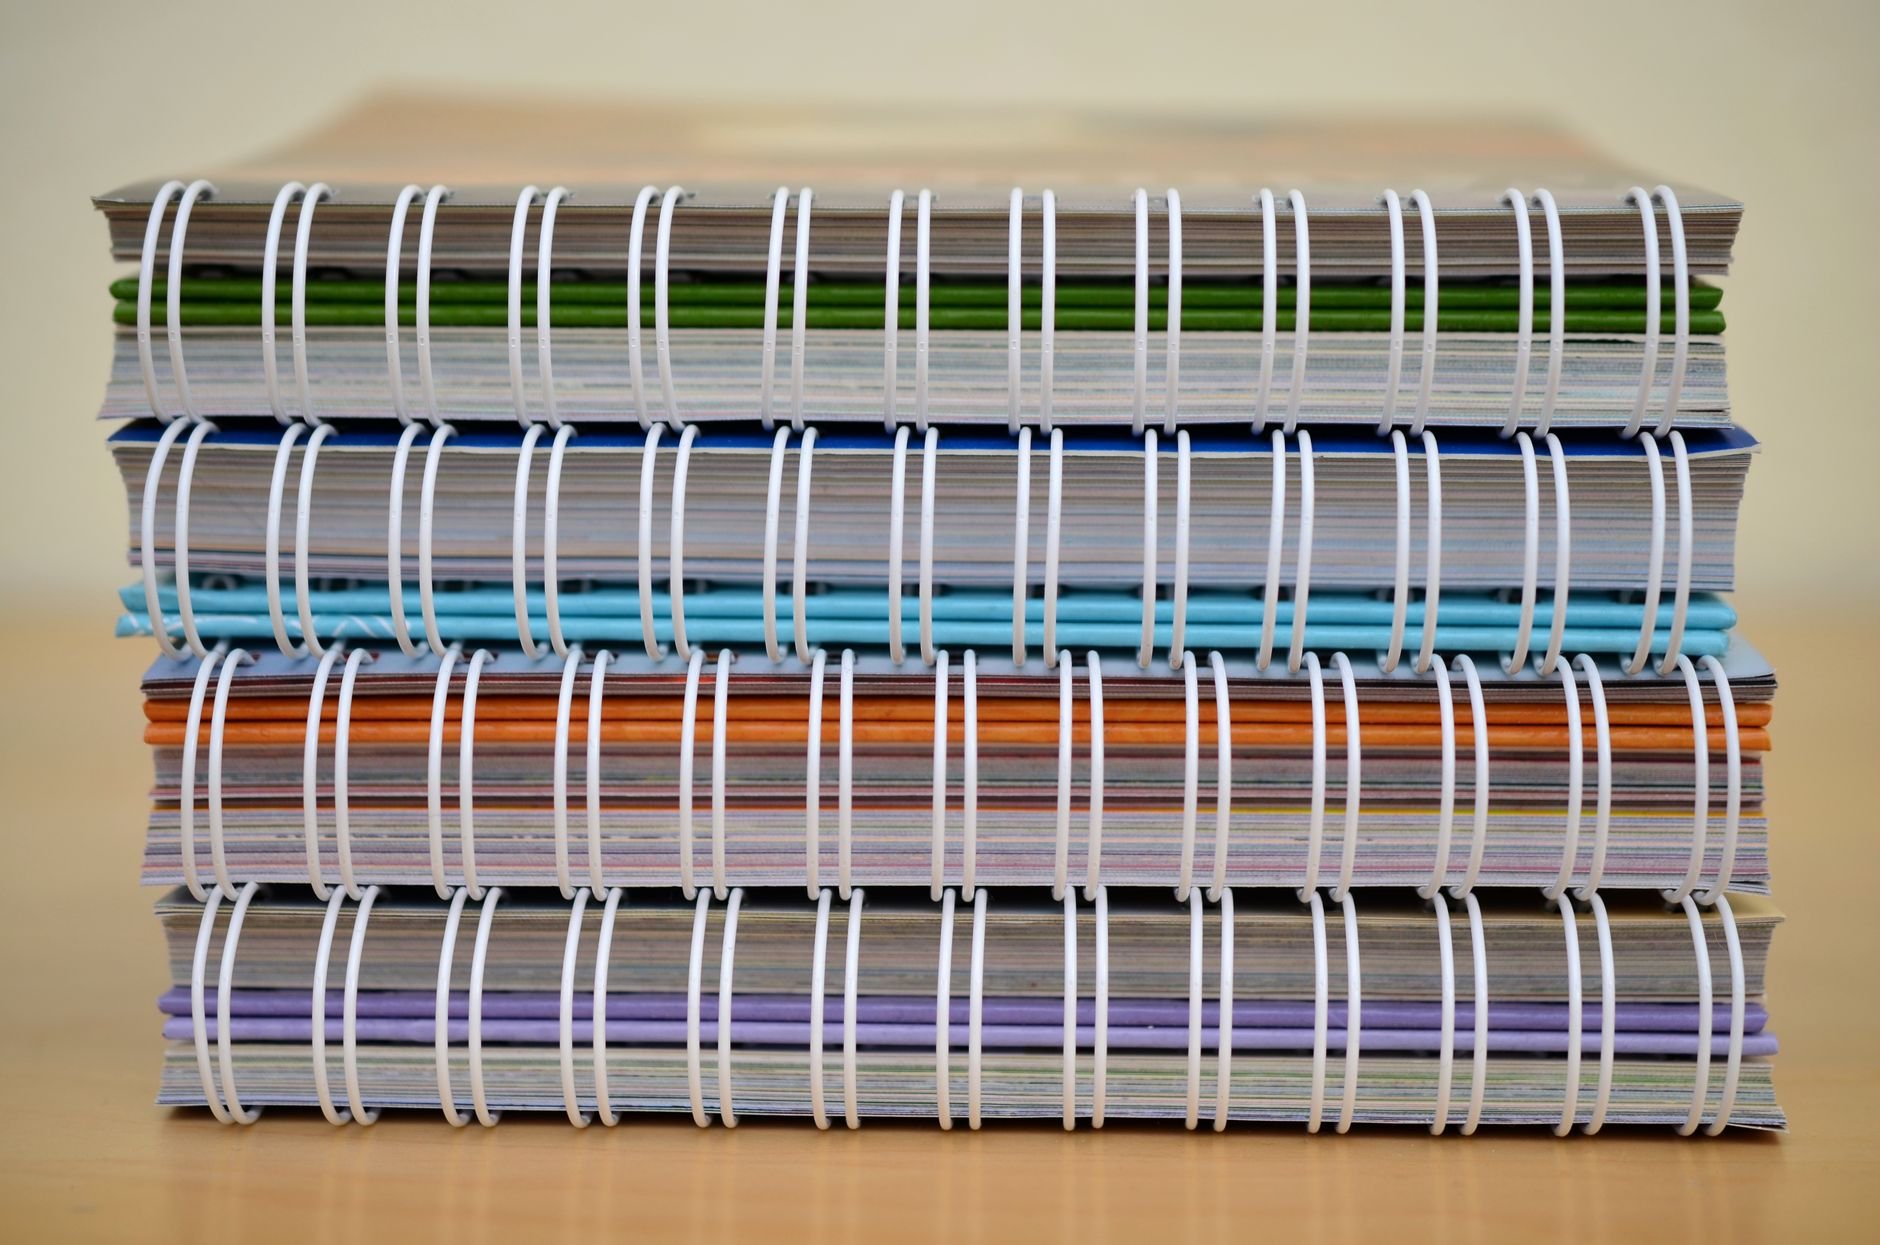
Saddle stitch is the staple-through-the-fold binding used for single issues, and it is the default for a first comic. It suits a short story that opens flat and costs less to plan, but the spine is too thin to print a title on. Ring or coil binding is a different style again, and it is not part of the standard single-issue format.
Perfect binding
Perfect binding glues the page block into a square spine. It suits a collected volume or a long graphic novel, and the spine gives you room for a title that shelves and stores can read. Its limit is that very short books do not have enough pages to make a useful spine, so keep it for the longer formats in the table above.

Print file setup: trim, bleed and resolution
The file should match the printer’s specification exactly, because most rejected files fail on size, bleed or color mode. Print Ninja’s guidance for a modern single issue gives a trim size of 6.625 x 10.25 inches (168 x 260 mm) and requires bleed of 0.125 inch (3 mm) beyond the trim line on all four sides.
- Trim size: use the printer’s own standard size and build the page at that final size plus bleed, never smaller.
- Bleed: extend backgrounds and art to the bleed edge so a small shift at the cutting stage leaves no white sliver.
- Safe area: keep all critical text and art at least 0.25 inch (6 mm) inside the trim line, so lettering is not clipped.
- Resolution: use at least 300 DPI for color art and 400 DPI or higher for black-and-white line art.
- Color mode: submit in CMYK, not RGB, and convert before submission to avoid color shifts.
All of these values are from Print Ninja’s design guide. A copy shop or print-on-demand vendor may publish different numbers, so use its specification page when it differs. Once the file is correct, the next safeguard is checking a proof.
Checking a proof copy
A proof is a print-ready version of your file shown to you before printing, along with technical notes, as UPrinting’s proof and file review page explains. Order one whenever the vendor offers it, because printing starts only after you send the proof approval and full payment. That makes the proof the last point at which an error costs nothing.
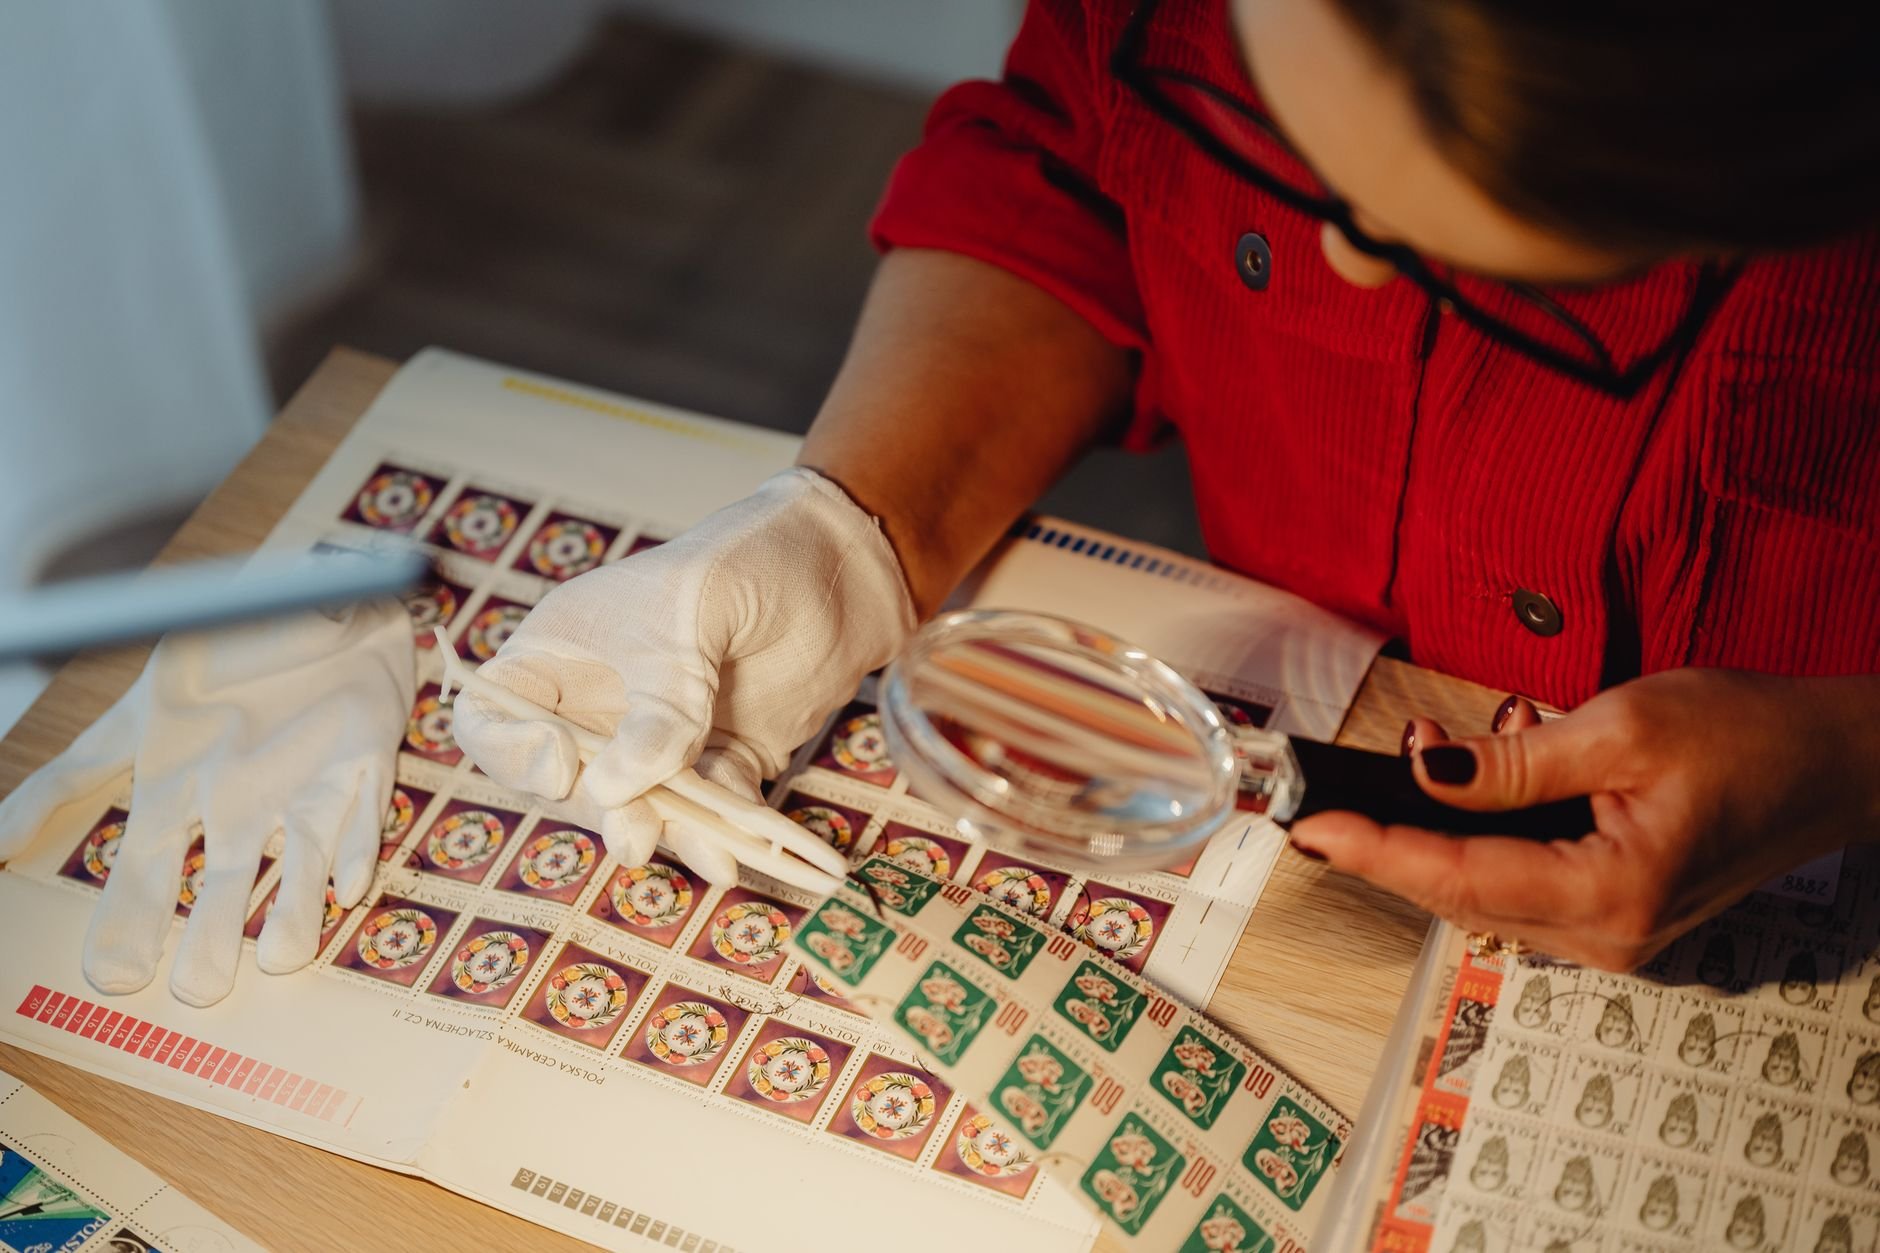
The vendor recommends a hard-copy proof when artwork is color critical, and that applies to full-color comics. A hard-copy proof may be printed on a different substrate from the one you ordered, so colors may differ by finish. Treat it as a check on layout, trim and color direction, not as a final match for the paper stock.
Decision checklist
- Decide the page count, then pick saddle stitch for a short single issue or perfect binding for a long volume.
- Choose the route that fits your run: print on demand to test, a copy shop for handmade copies, or a printer for a planned offset run.
- Read that vendor’s file specification and pricing pages, including minimum order and paper options.
- Build the file at trim size plus bleed, with text inside the safe area, in CMYK at the required resolution.
- Request a proof, check trim, lettering and color, and approve it only when it is right.
- Place the order, then plan sales and distribution using the steps in how to self publish a comic book.
Frequently asked questions
What is the difference between print on demand and offset printing?
Print on demand is an online service you upload a file to, while offset printing is the lithographic press process that printers use for planned runs. Compare their minimum orders and per-copy prices on each vendor’s pricing page before choosing.
Which file format should I send to a printer?
Print Ninja describes PDF/X-1a, defined in ISO 15930-4, as the industry-standard format for print production, and it embeds fonts. Confirm the format your chosen printer accepts before exporting.
Is a proof free?
At UPrinting, the proof is complimentary as part of its free file review service. Other vendors set their own terms, so check before you order.
Can I get a hard-copy proof for any paper?
Not always. UPrinting does not offer a hard-copy proof for artwork that will be printed on uncoated paper, so review your file carefully if you choose that stock.